Step-by-Step Guide: Install Your eSIM
Select your installation method
Before you start, please check:
- You have a stable internet connection.
- You’re connected to Wi-Fi or a strong 4G/5G signal.
- Your device supports eSIM.
Activation guide for your eSIM

01
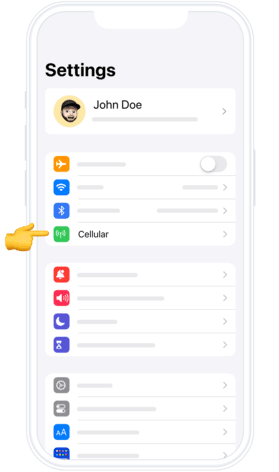
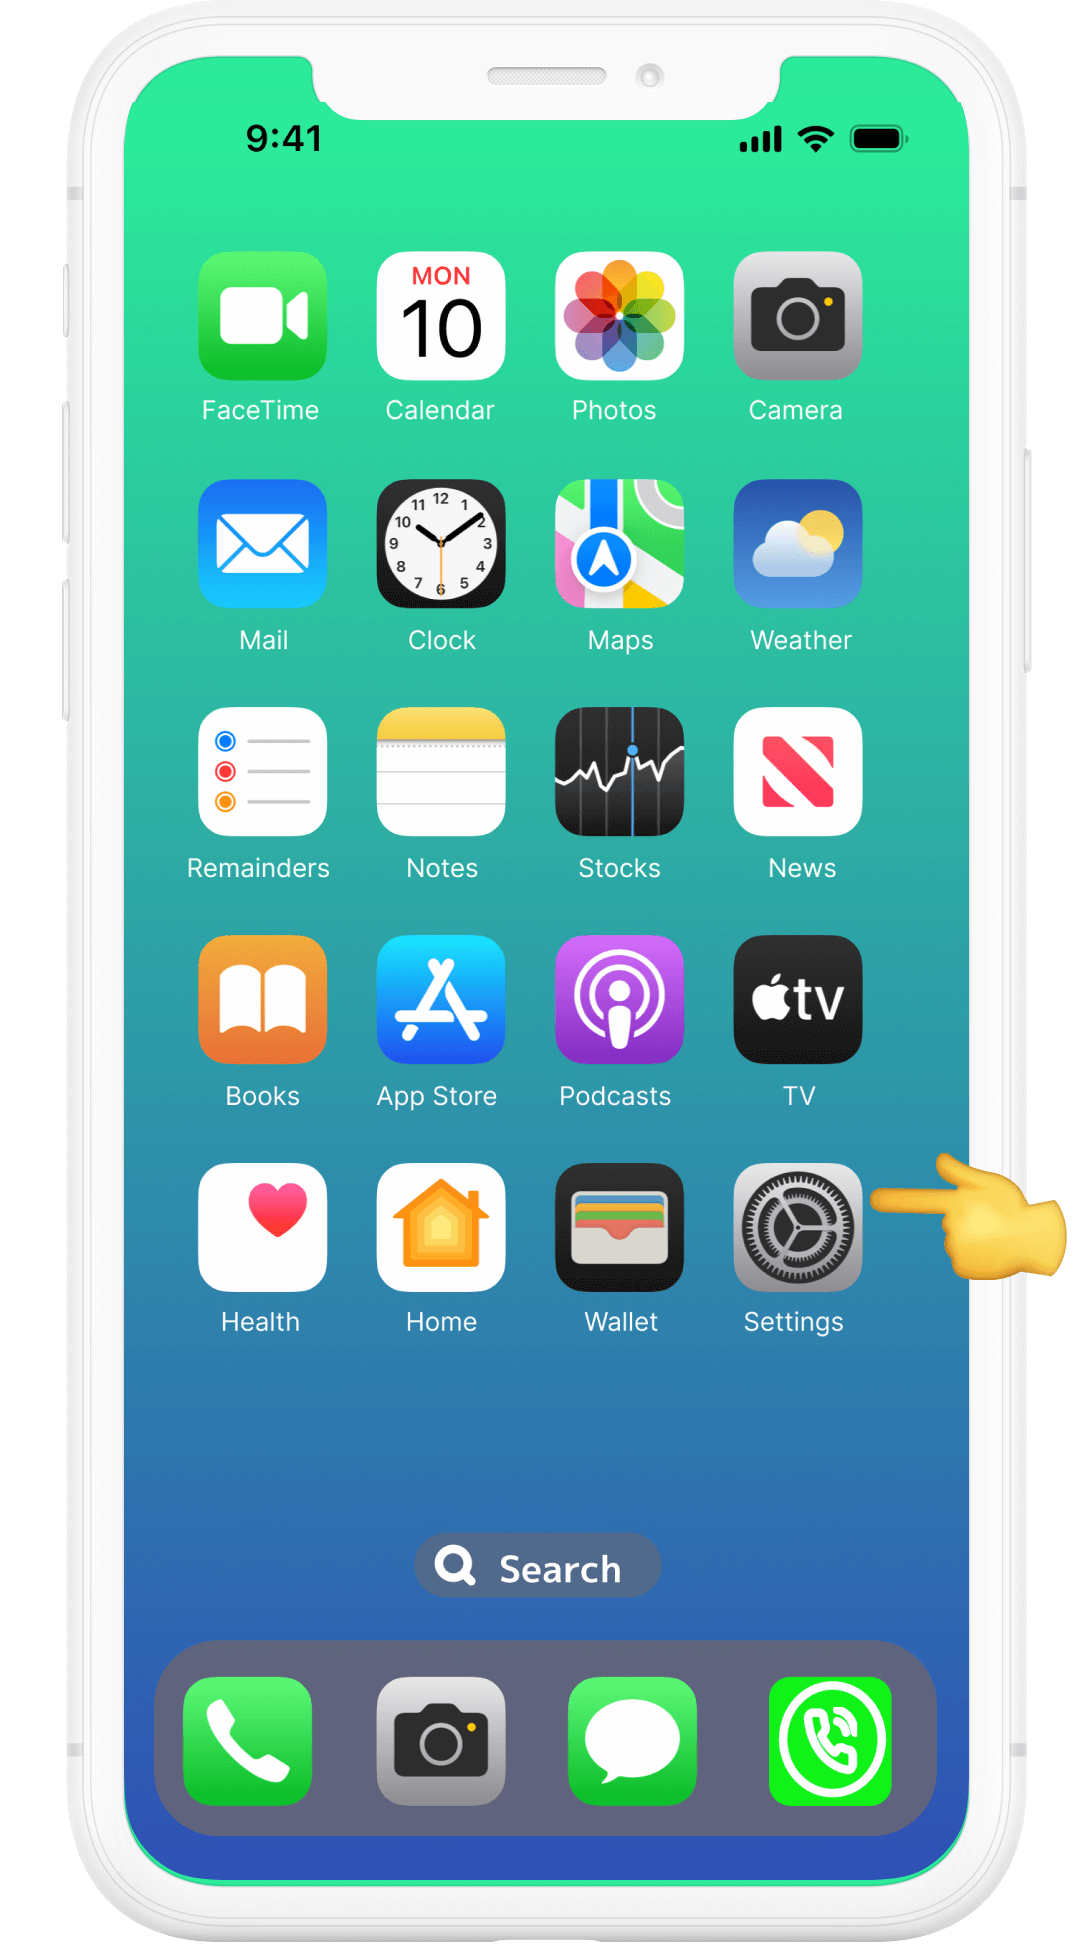
Open Settings
Unlock your iPhone, go to the Home Screen, and tap Settings (the grey gear icon).
02
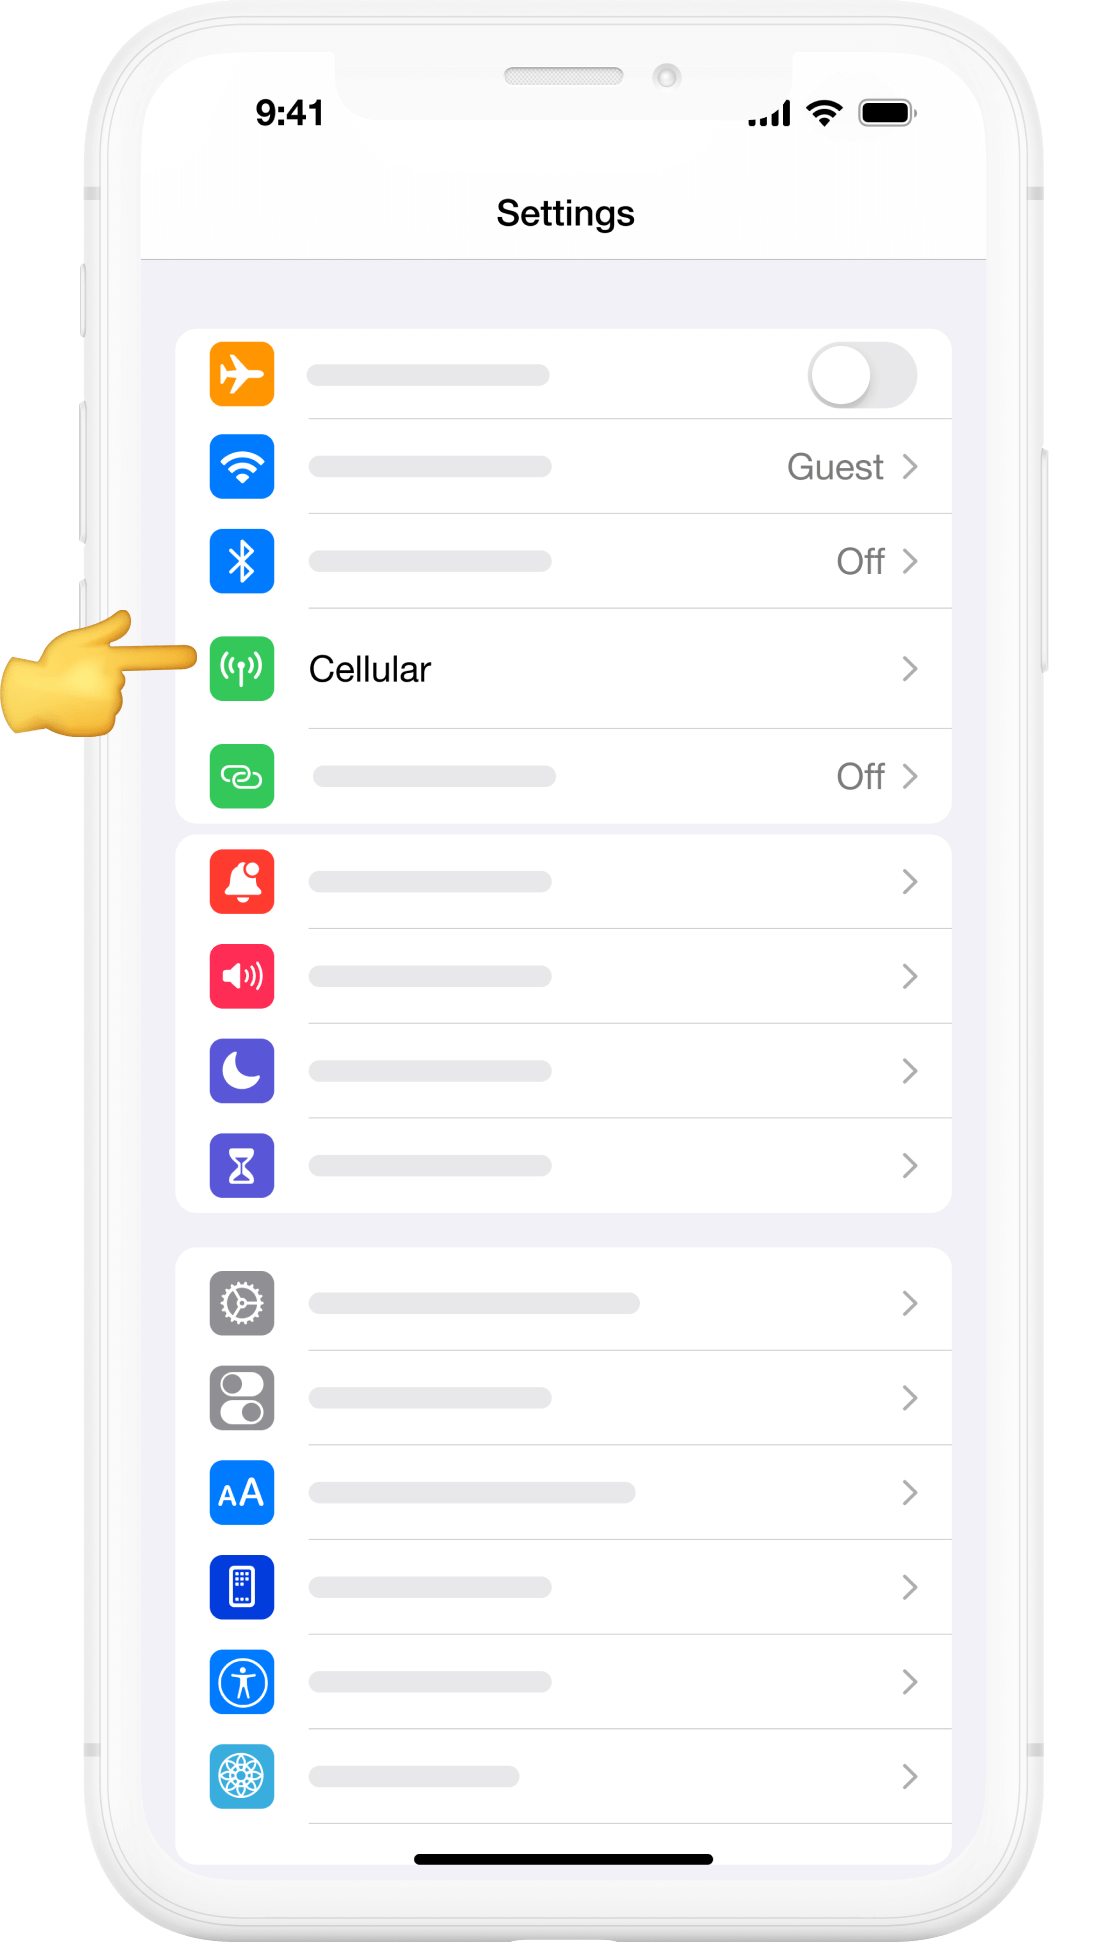
Go to Mobile Data
In the Settings menu, scroll down and select Mobile Data (sometimes called Cellular on some iPhones).
03
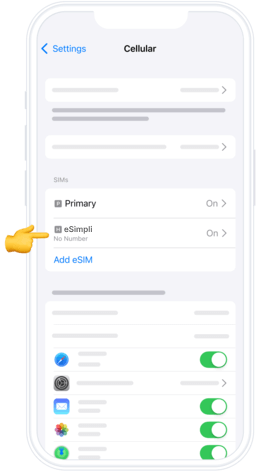
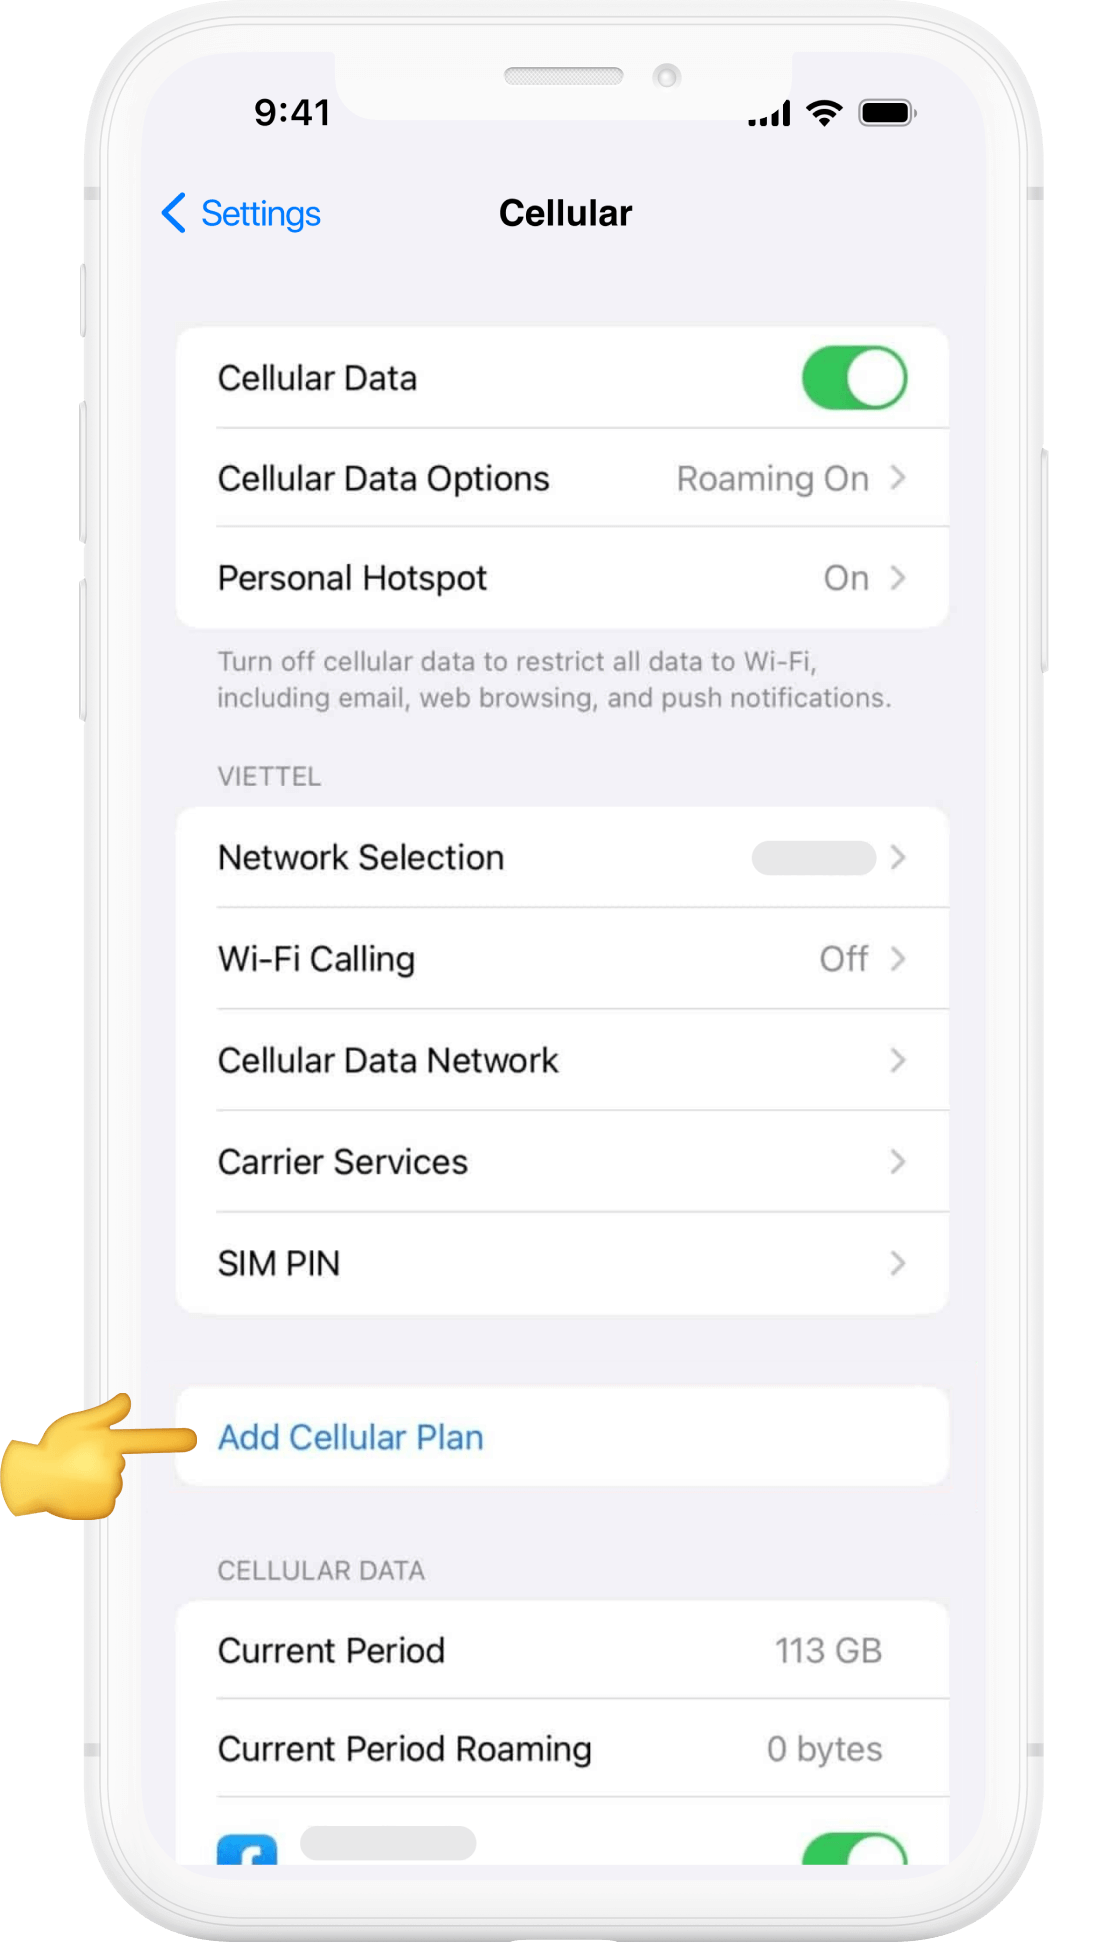
Add eSIM
Tap Add Mobile Data Plan (or Add eSIM) to begin the setup.
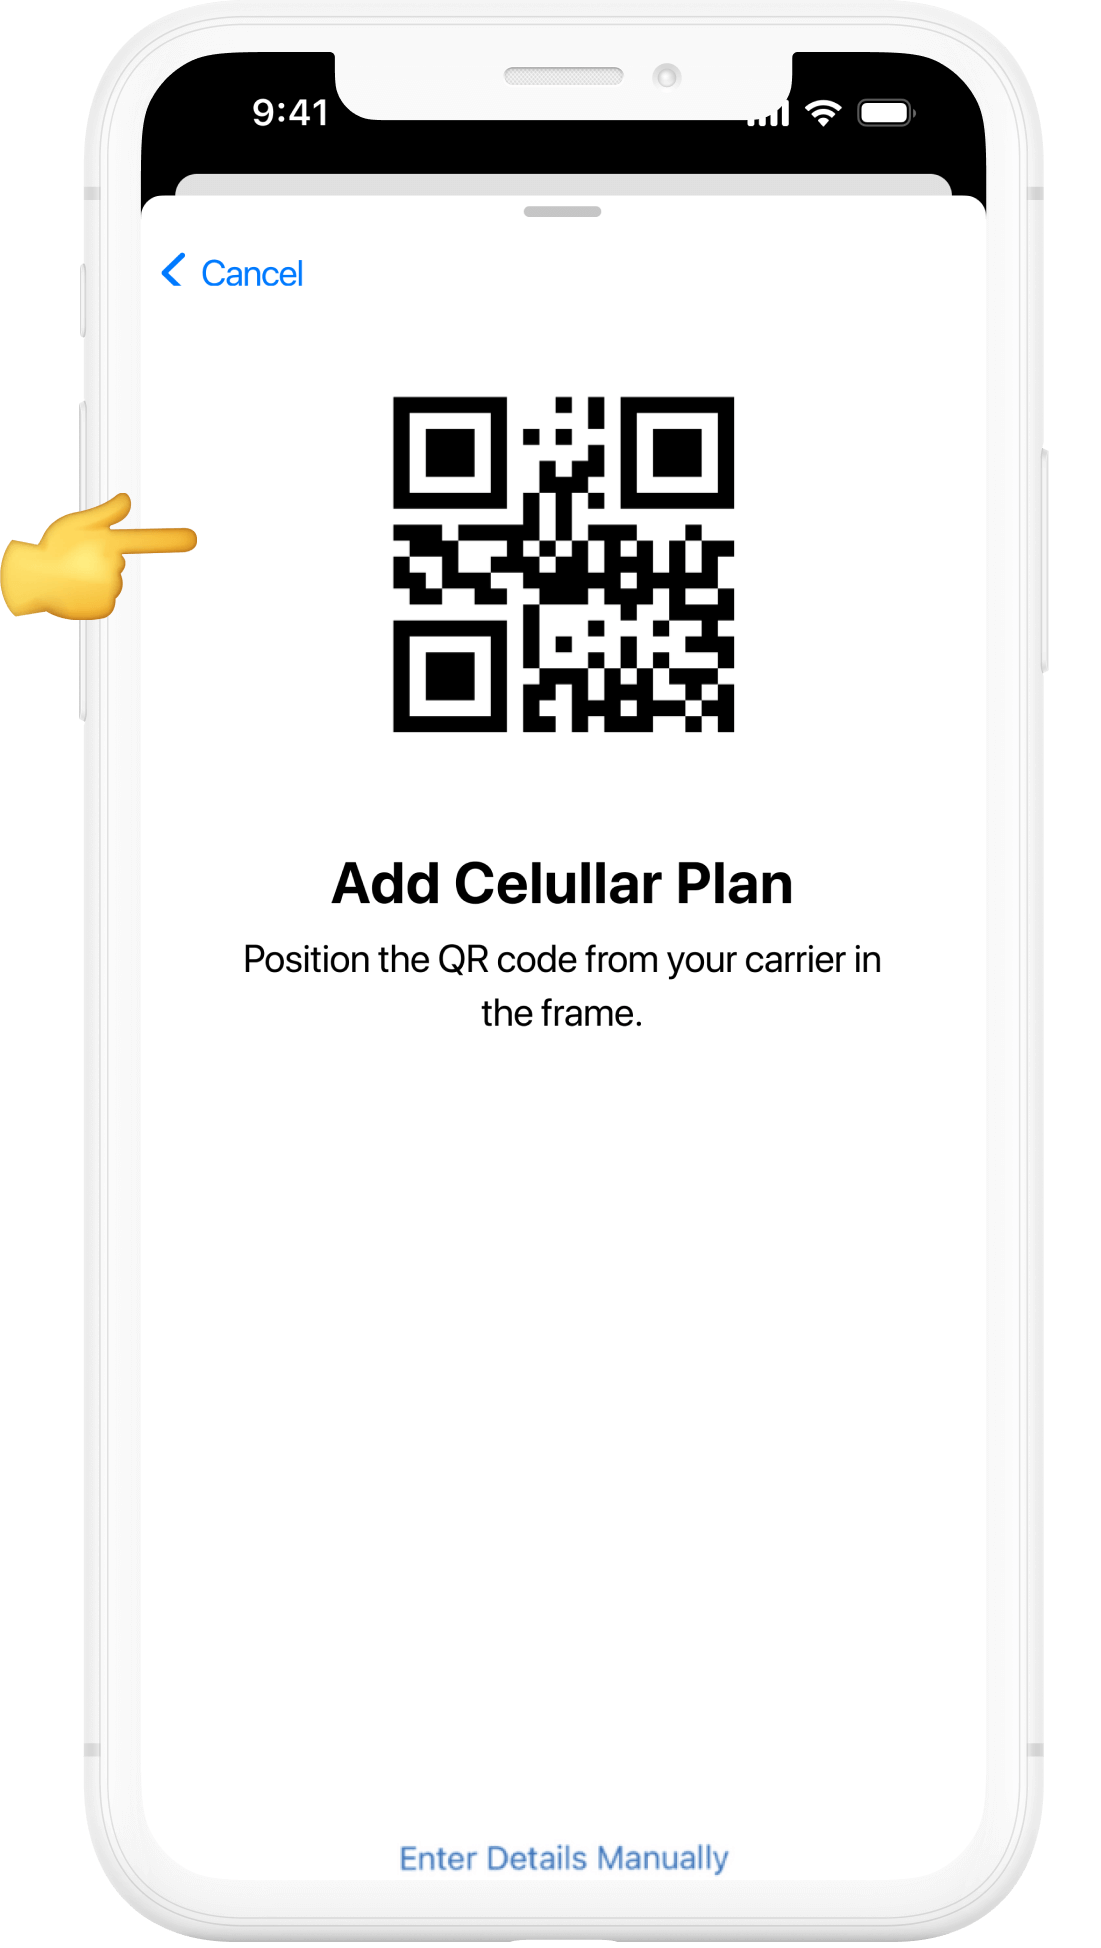
04
Scan the QR Code
Position your iPhone’s camera over the QR code provided after your eSIM purchase. Wait a few seconds while it is recognised.
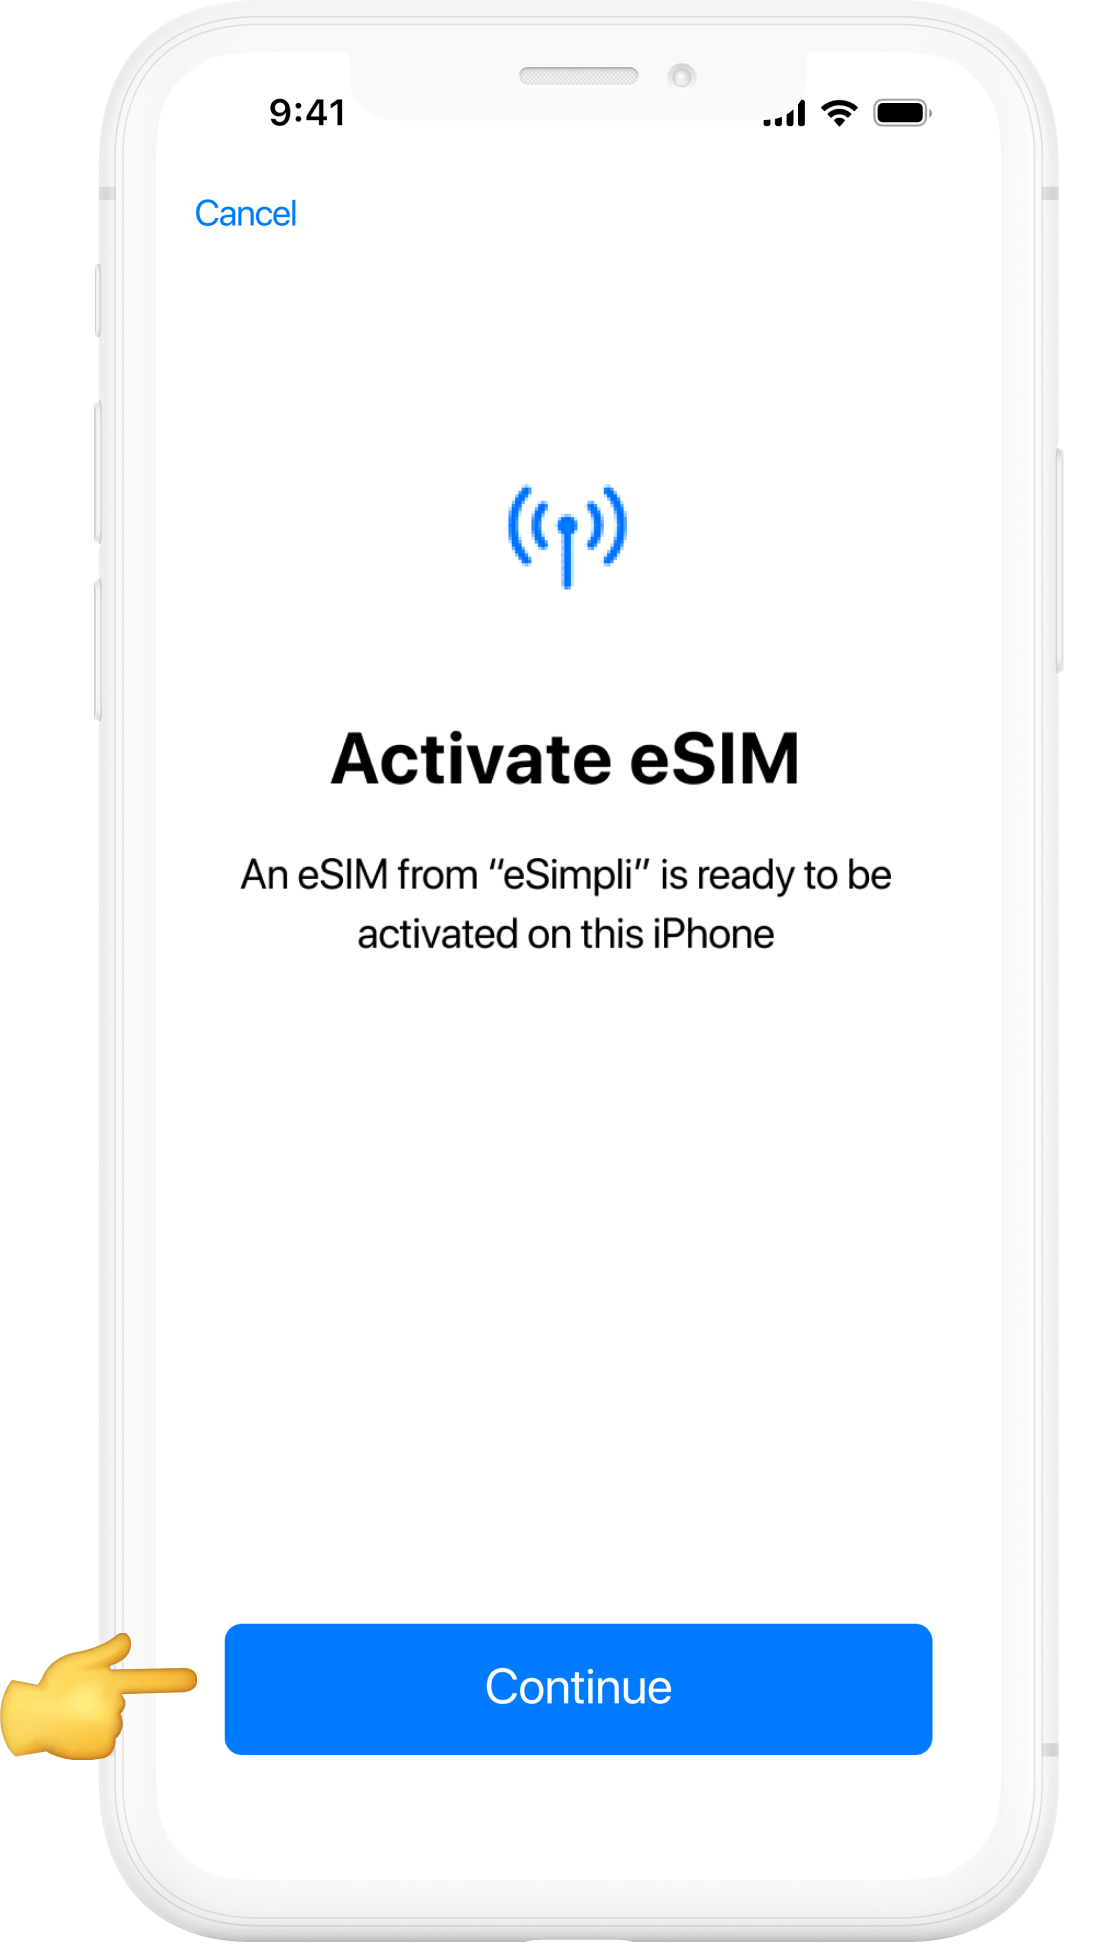
05
Confirm Activation
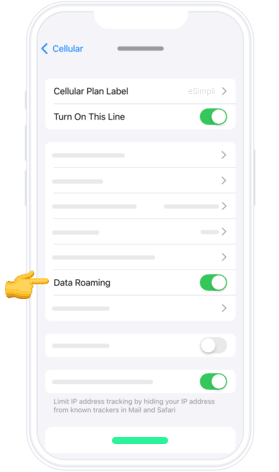
A message will appear showing your eSIM details. Tap Continue and then Confirm to activate your plan.
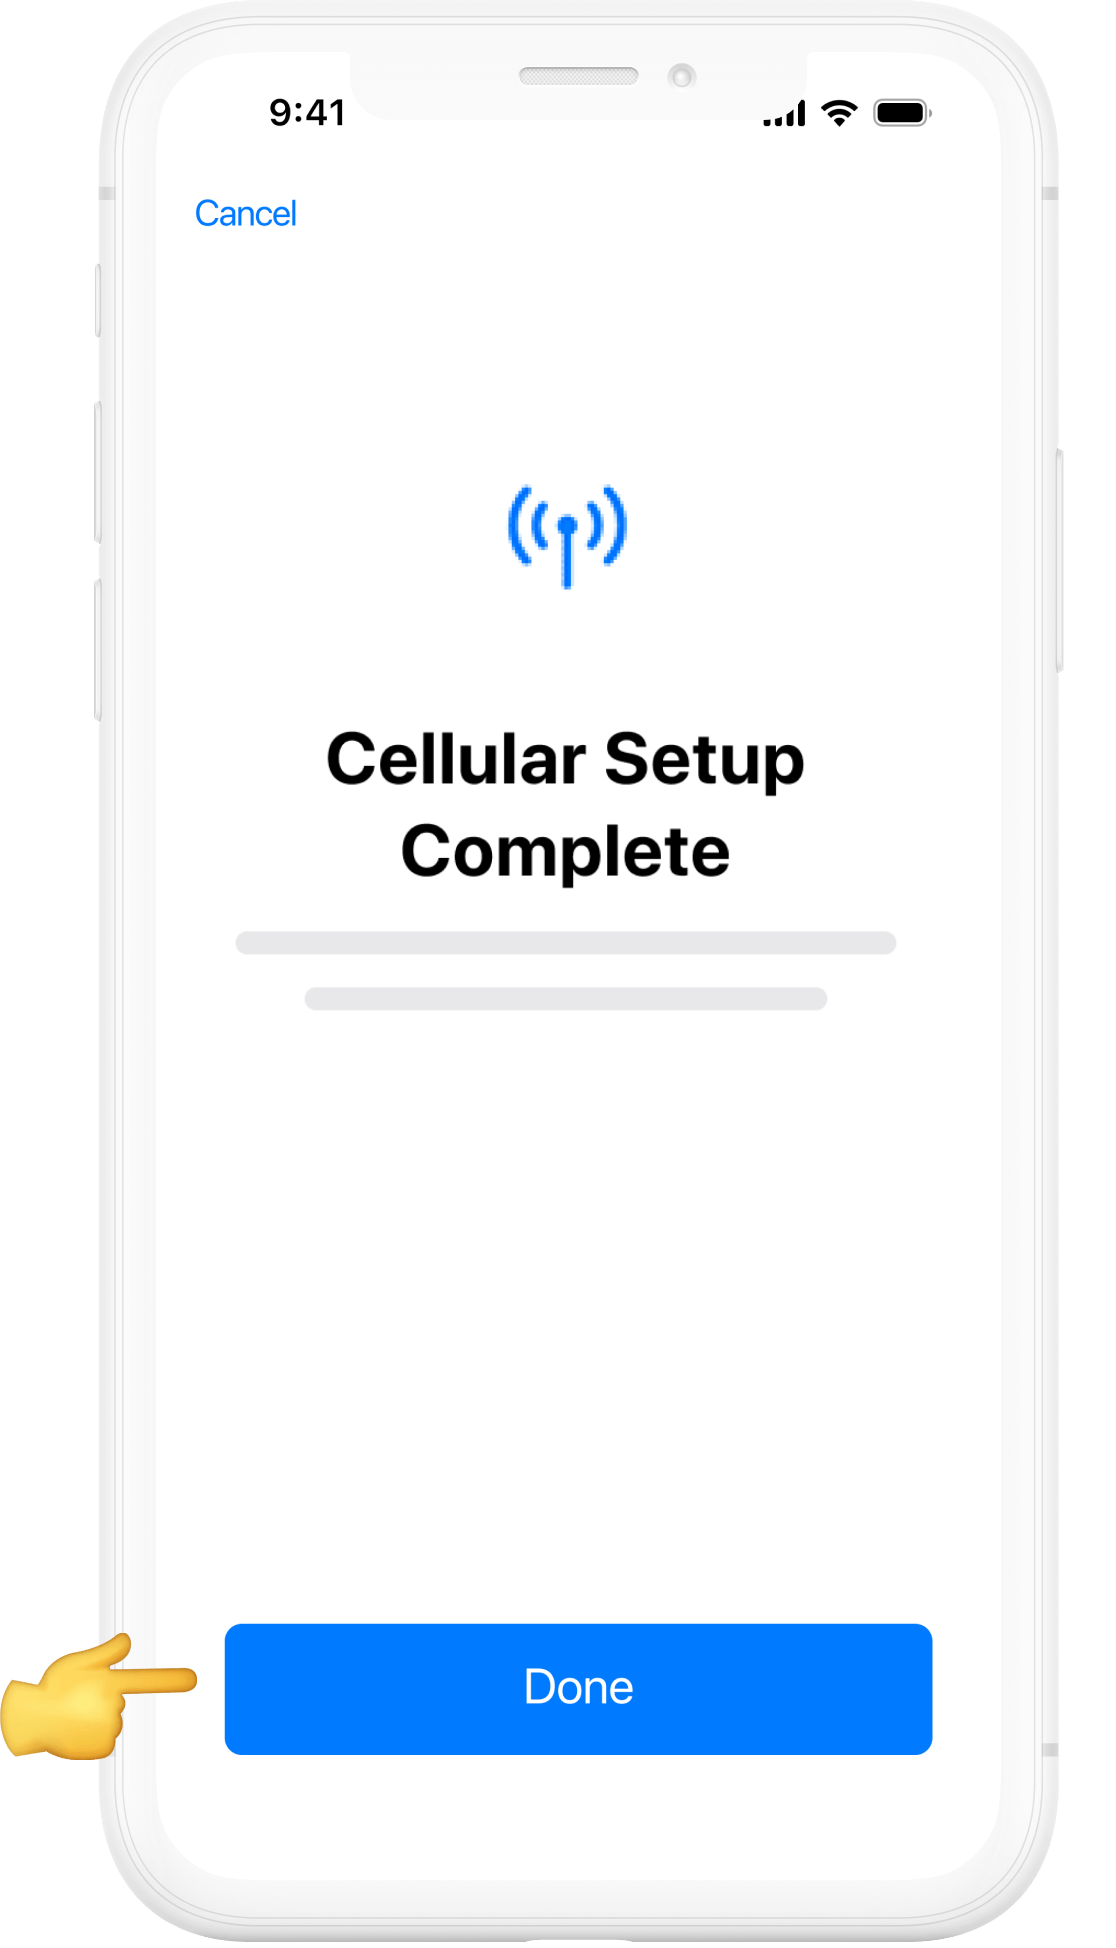
06
Setup Complete
Once the activation is confirmed, you’ll see Cellular Setup Complete. Tap Done.
Before you begin manual installation, please note:
- Your eSimpli manual installation code can be used more than once, but only on the same device.
- Make sure you have a stable internet connection throughout the setup.
- If you delete your eSimpli eSIM, you can reinstall it later — as long as it’s on the same device.
Manual installation guide for your eSIM
01
Open Settings
Unlock your iPhone and tap the Settings app (gear icon) to begin setting up your eSimpli eSIM.
02
Go to Mobile Data
In Settings, select Mobile Data (or Cellular on some devices). Tap Add eSIM or Add Data Plan, then choose Use QR Code.
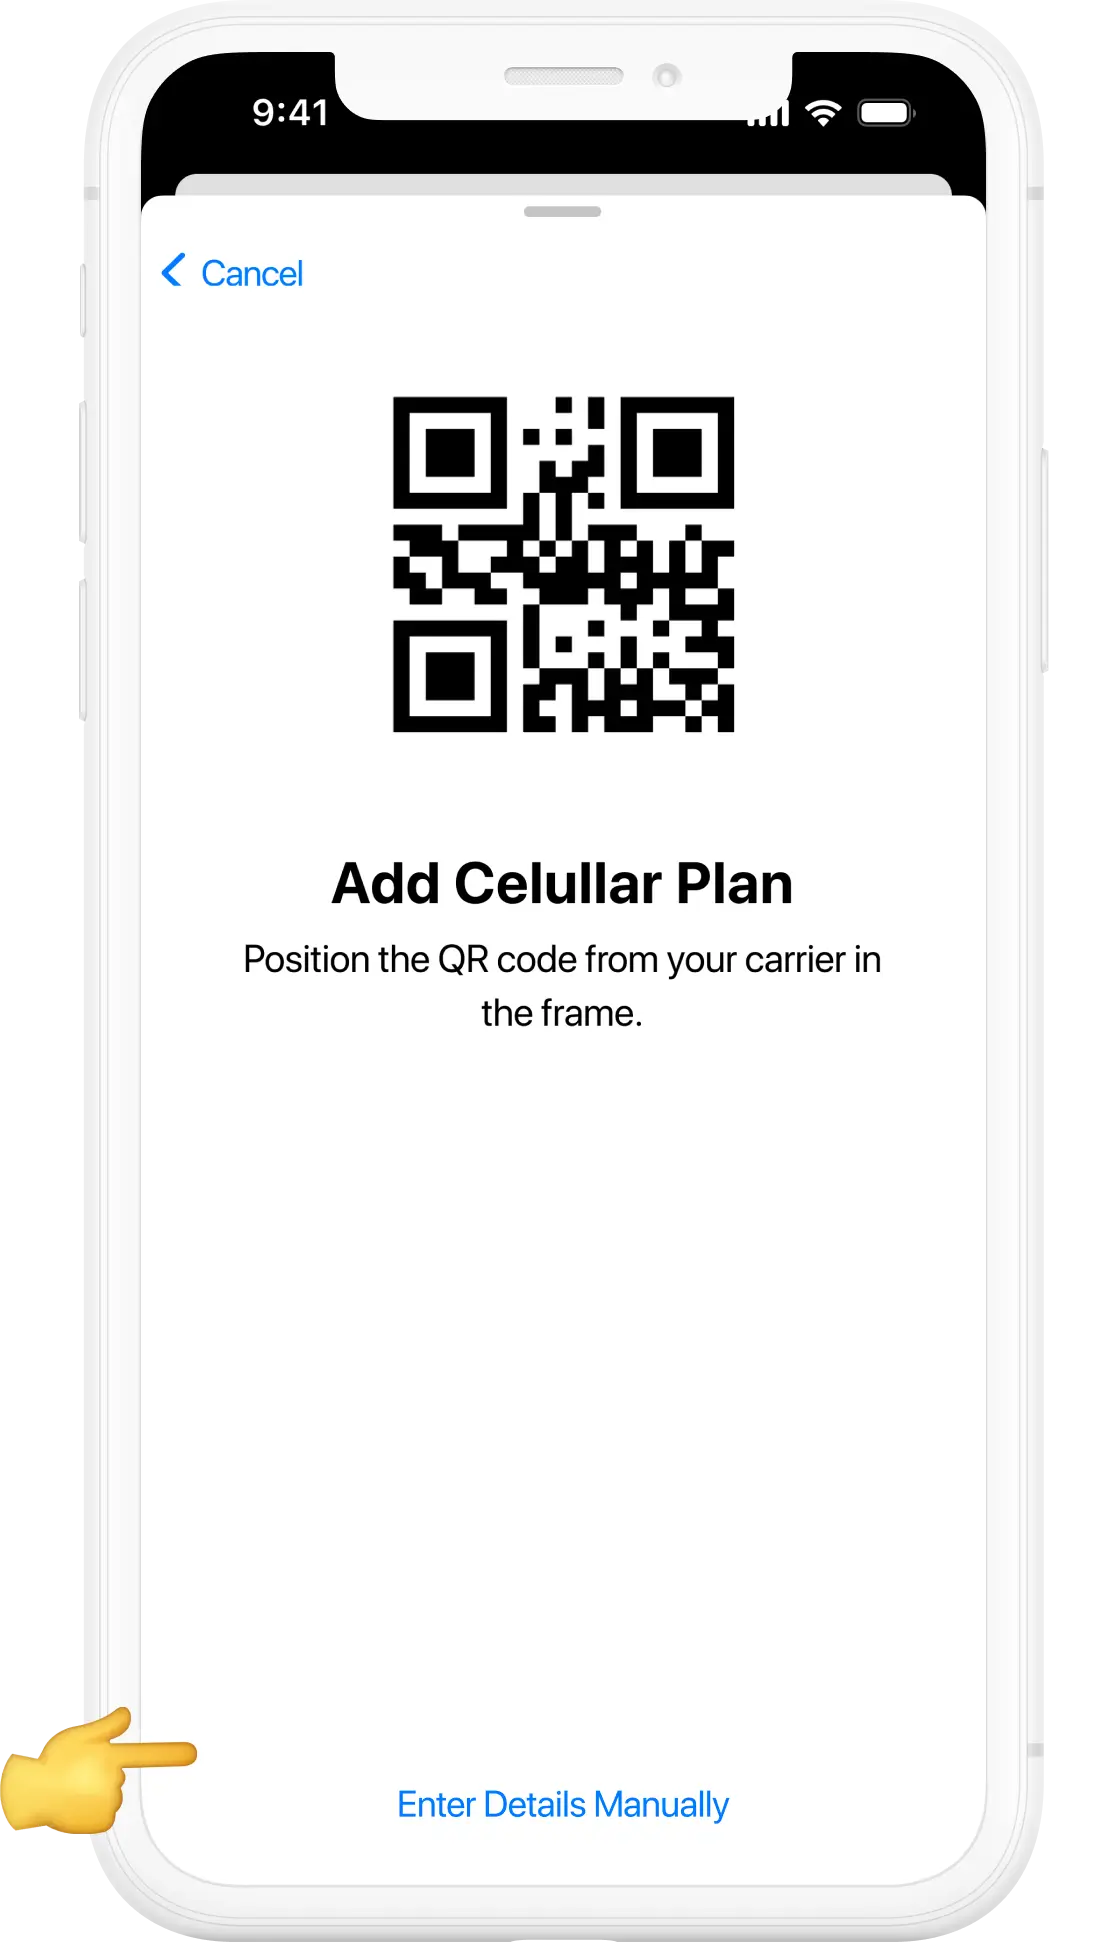
03
Enter Details Manually
When the QR code screen appears, tap Enter Details Manually. Enter the activation information provided in your eSimpli confirmation email.
04
Install Your Data Plan
Your iPhone will display your new eSimpli eSIM plan. Tap Continue and wait a few moments while your plan installs.